Aquarium Setup
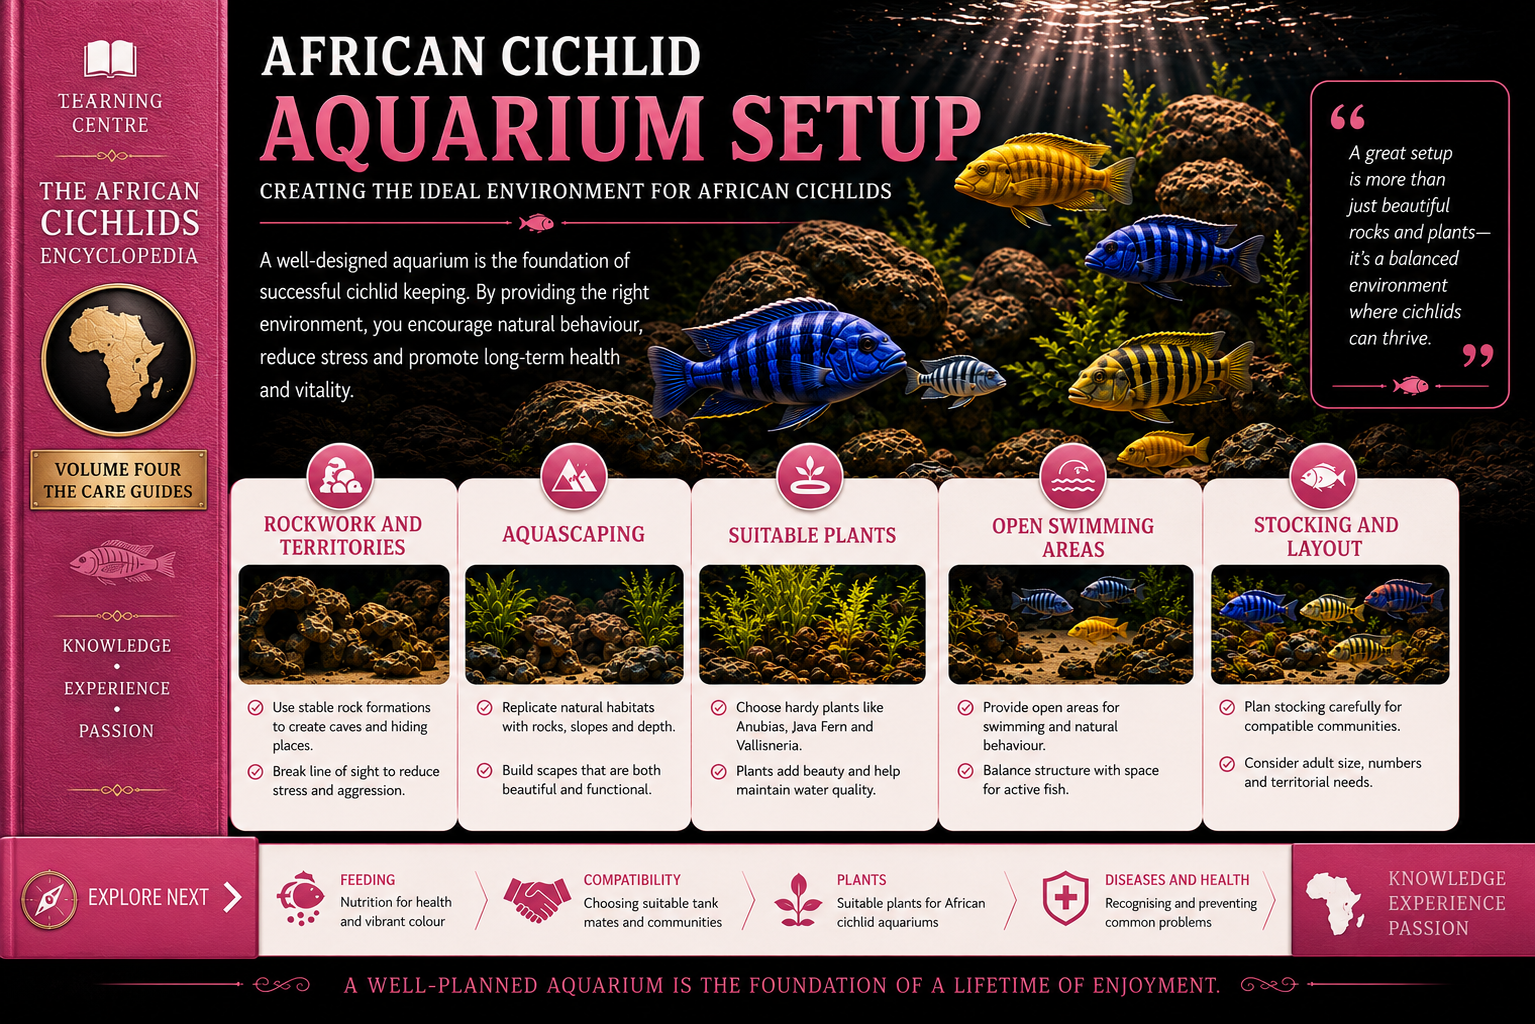
African Cichlid Aquarium Setup written by Malawi Cichlids
Written content © Copyright Malawi Cichlids (African Rifts)
I would always recommend looking around for a second hand setup because most of the time they come complete with all the equipment. Some also come with substrate and decor and for a much lower price than a new tank alone.
Another advantage of buying second hand is that you can change the appearance to suit your room. For example if the stand and hood are wood then you can paint or stain it however you like or even alter it knowing that you did not pay out loads of money. You can afford to be fussy when it comes to picking what sort of tank you want as there are so many good second hand ones out there to choose from.
One of my Haplochromis tanks was bought second hand but I had to have the stand and hood custom built because no matter how much I looked I could not find a solid six foot stand to replace the damaged one that came with the tank.
Not all second hand tanks come clean so the first thing that I do is wash the tank with nothing more than clean warm water and a new sponge. You can partially fill the tank now and check to see if there are any small leaks which is always a good thing to do especially with bigger tanks. If you find a leak then leave the tank to dry out thoroughly before sealing the leak with some aquarium silicon sealer and always leave the sealer to properly dry.
Once happy with the tank I turn my attention to the hood and stand. This is when I would clean, repair or even change the appearance of it depending on what I want it to look like. If the tank did not come with any polystyrene sheets then make sure you purchase some to place on the top of the stand. These are there not only to keep some heat in the tank but to protect the bottom of the tank from any abnormalities on the stand. Juwel Aquariums do NOT need polystyrene. Another tip is that if your hood is wood and has no light reflectors in it then you can line it with tin foil using wood glue. This is a cheap way of reflecting the light into the tank without the expense of buying reflectors.
If your tank came with equipment then you now need to check this to make sure it all works. There is nothing more annoying than finishing your tank and finding out that something does not work so you have to run around trying to find a replacement. You can check all the electrical equipment by placing it in a bucket of water and turning it on. Never test any equipment out of water. Some of this equipment will require cleaning so carefully clean it with a sponge or toothbrush and nothing more than warm water.
Once the tank, stand, hood and equipment are clean and ready you can now start setting up. Place the polystyrene on the stand and then place the tank on top. Make sure you do not put your tank and stand to close to the wall because you may find that you do not have enough space at the back to fit the hood on or drop down wires and plugs. I learnt this the hard way many years ago with a six foot full of water and rocks.
I use a sand substrate for my Malawi tanks and do NOT recommend using undergravel filters. In my previous Haplochromis tank I used 5x 25kg of river sand. Another sand that you can use is construction sand or CaribSea Eco-Complete but whichever sand substrate you use you will have to thoroughly clean with just warm water until the water runs clean, with the exception of the CaribSea Eco-Complete. It is always best to do small amounts at a time then you get it cleaner. Do not use gravel with Africans. It is important that you read our water changes page to see how to clean your sand.
Once the sand is placed in the tank I start with the equipment. It is best to have as little wires and equipment showing in your tank as possible so with this mind try and hide the equipment and wiring. I use a digital thermometer to check the temperature, this attaches to the hood then drops a small wire with a probe into the water. If you are using internal filters place them in the tank roughly where you want them to go along with the heater(s). I use two external filters and two heaters on tanks above four foot.
I always stand the heaters up next to the external filter outlet pipes in the corners attached with suckers and using heater covers but not touching the substrate. Doing this not only protects your heaters but also protects your fish from possible burns and helps warm the clean incoming water from the filter. If you are using external filters then now is the time to install all the pipe work and position the filters in place making sure that the pipes are long enough. The bigger the tank the higher the heater you will need. I normally use two 300 watt heaters on large tanks, once the water gets to temperature these heaters just flick on when needed keeping the temperature stable. Set your heaters anywhere between 78 - 82° f but do not turn on until your tank is full of water.
Next is the decor. If you are keeping Mbuna then build up high piles of rocks making sure that there are different sized caves. Remember that Mbuna tanks do not need plants but if you like them then that's OK but Mbuna will pull up, move or even destroy real plants and sometimes plastic plants if they don't like them near their cave. When placing rocks in the sand push them right down then bank up the sand around them so that they are firmly in position for building on. Always check your rocks for any movement, if you find one that moves, re-position it before continuing.
Rocks are a personal choice, I have used many types over the years from slate, rocks that had lovely small pink pieces, tufa rock, ocean rock and even rocks from the local river for my large Hap tank. My preference for Africans' is a mixture of ocean and tufa rock. If you are keeping Haplochromis then you require as much space as you can get. Just place a few large bolder/rocks on the bottom of the tank with a few giant vallis plants which can be either real or plastic. Another option is to use egg crates, these can help to build on and stop any damage to the bottom of your tank. If you want to keep shell dwellers, use large snail shells instead of rocks, placing them all over the sand in piles.
Now all the equipment and decor is in place I fill the tank. It is not essential to treat the tap water with conditioners here as there will be no fish in the tank for a while so all the chlorine and heavy metals will have dissolved by then but remember to always treat the water when doing water changes. I fill the tank by using half cold water then half warm water via a hosepipe. I do this because it is cheaper than trying to heat up a large tank of cold water with heaters.
Once the tank is full switch on all the equipment and check that everything is working. The last job would be sorting out the hood and lights. With all these electrical plugs I find it easier especially with big tanks to screw a four way extension cable to each end of the stand for the equipment, then run one of these four way extension cables into the other one. In doing so you only have one plug powering all the tank removing the need for loads of plug sockets. You can then screw the extension cables into the stand cupboards if you have them to hide all the plugs.
Finally keep an eye on the temperature over the next few days and adjust it accordingly, remember that you may have to turn your heaters up and down in winter and summer months. Monitor the PH levels and try to get them to a level that your Malawi cichlids like.
You can also drop in very SMALL amounts of food every few days which will help start of the good bacteria but DO NOT over do this, or you can clean out a sponge filter from a friends established tank into yours, squeezing all the muck into your tank will also help the bacteria but you must do this within one hour of removing the sponge or the good bacteria will die. Leave your tank to settle down now.
After two weeks and the tank is still OK with no problems then you can introduce two or three pairs of young Malawi cichlids but this depends on the size of your tank, a four foot (48") tank is probably minimum for a Malawi tank. Leave these another week or two then again if all is OK then introduce a couple more and so on. Remember to watch your fish so that you will learn their behaviour enabling you to notice any problems and do not forget to do your regular water changes.
The 25-Year Setup Protocol: Structural Safety for Malawi Tanks
Setting up a standard aquarium usually involves laying down substrate and placing decorations on top. However, engineering a proper Lake Malawi habitat requires a completely different approach to structural safety and physics. Because these setups depend on massive, towering fortresses of heavy rockwork to curb aggression, you cannot simply drop rocks onto sand. Over my twenty-five years of building these environments, I have developed a foolproof setup blueprint that protects your glass, prevents structural collapses, and ensures your tank is built to last.
"The single biggest mistake you can make when setting up a Malawi aquarium is placing your rocks on top of your sand. Cichlids are obsessive, industrial diggers. If they excavate the sand out from beneath a 10-kilogram stone, the entire rock pile will slide, causing a catastrophic rockfall that can shatter your tank's bottom glass panel."
1. Substrate Shielding: The Eggcrate Layer
Before a single grain of sand or fragment of stone enters the aquarium, you must protect the bottom glass from pressure points. A sharp edge on a heavy piece of granite or limestone can create a localized stress point that leads to a cracked tank over time.
- The Plastic Eggcrate Solution: Buy a sheet of standard plastic lighting louvre (commonly called "eggcrate") and cut it to fit the inside bottom of your bare glass tank.
- How It Works: Lay this grid down directly on the glass *before* adding anything else. The plastic grid perfectly distributes the downward weight of heavy stones across the entire surface area of the glass, eliminating dangerous pressure points. It also acts as a non-slip grip, preventing the base rocks from sliding around.
2. The Correct Loading Order: Rocks Before Sand
To guarantee your rock fortresses are completely earthquake-proof against digging cichlids, you must follow a strict, counter-intuitive installation sequence:
- Step 1: Base Rocks First: Place your largest, heaviest foundation stones directly onto the plastic eggcrate grid. Wiggle them slightly to ensure they are firmly locked in place and cannot tip over.
- Step 2: Build the Matrix: Stack your upper layers of rocks, interlocking them safely to create the caves and sight-breaks your Mbuna or Haps will require. Push down firmly on the pile to test for any wobbles.
- Step 3: Pour the Sand Last: Only after your rock fortress is completely stable should you pour your aragonite or silica sand into the aquarium. Wash the sand around the base rocks. Now, when your fish dig all the way to the bottom of the tank, they will hit the plastic eggcrate and the unyielding base of the rock—meaning the structure will never collapse.
3. Floor Load and Cabinet Reinforcement
A fully loaded 300 to 500-litre Malawi aquarium easily weighs more than a standard sofa packed with people, often exceeding 400–600 kilograms once you factor in thick glass, hundreds of kilos of rock, and dense sand.
- Stand Verification: Never trust a cheap, flat-pack particleboard stand for a heavy rock setup. Ensure your cabinet features a solid timber frame or a reinforced steel matrix. If using wood, sealing the interior with marine varnish prevents accidental water drips during maintenance from warping the structural supports.
- Floor Joist Orientation: If your tank is going onto a wooden joist floor rather than solid concrete, always position the aquarium perpendicular (at a 90-degree angle) across the floor joists rather than parallel to a single joist. This distributes the massive weight across multiple structural beams of your house.
Tank Setup Safety Checklist
Before flipping the switch on your new Malawi setup, verify these critical assembly steps to ensure your hardware is fully secured.
- [ ] Foam Leveling Mat: Is there a high-density foam or polystyrene mat placed between the bottom of the rimless glass tank and the cabinet top?
→ Benefit: Absorbs minor imperfections or micro-twists in the cabinet surface, preventing glass stress fractures. - [ ] Background Security: If you are using an internal 3D rock background, is it 100% sealed with aquarium-safe silicone around all edges?
→ Benefit: Prevents small or subdominant cichlids from swimming behind the background and getting permanently trapped and killed. - [ ] Substrate Depth Limit: Is your sand bed kept to a sensible depth of around 3–5 cm?
→ Benefit: Provides plenty of digging material for the fish while preventing deep, dangerous anaerobic gas pockets from building up in the substrate.